SALE PRODUCTS


SPECIAL OFFER


Aquaphor Baby Healing Ointment Advanced Therapy Skin Protectant


Monin – Gourmet Flavorings Premium Coffee Collection


Descaler (2 Pack, 2 Uses Per Bottle) – Made in the USA


LEVOIT Air Purifiers for Home Large Room Bedroom Up to 1110 Ft²

Schwarzkopf Gliss Hair Repair – Fiber Therapy


TRENDING


Lenny & Larry’s The Complete Cookie, White Chocolaty Macadamia


Tillamook Country Smoker Real Hardwood Smoked Sausages


Califia Farms – Oat Barista Blend Oat Milk, 32 Oz (Pack of 6)

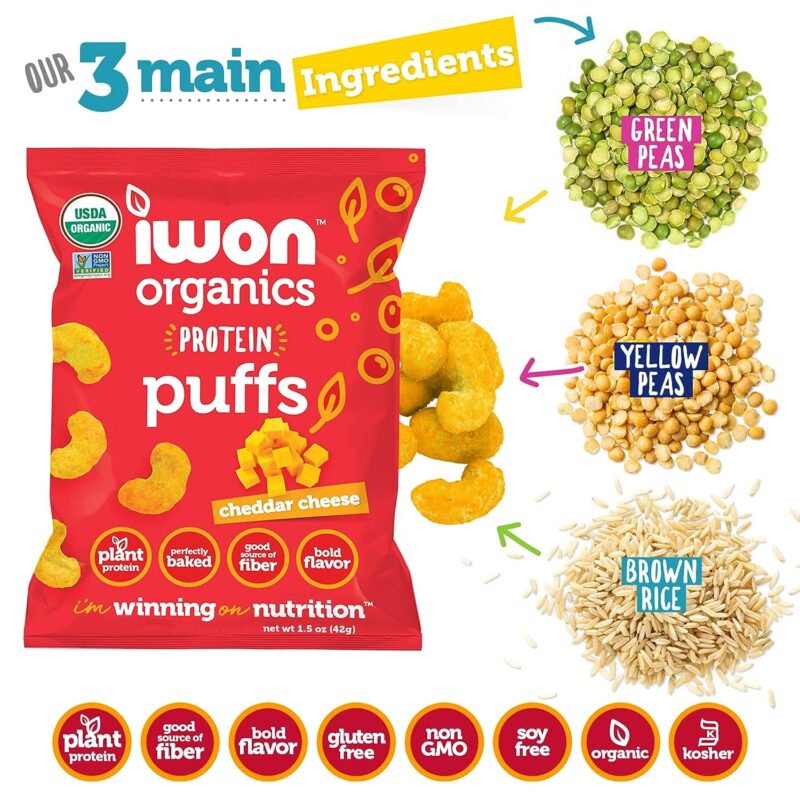
Iwon Organics Protein Puffs Cheddar Cheese Flavor, Vegan


Premier Protein Powder, Vanilla Milkshake, 30g Protein


SPLENDA Sugar Free Sweet Cream Coffee Creamer, 32 Fl Oz


CeraVe Eye Repair Cream | Under Eye Cream
Original price was: $25.00.$19.99Current price is: $19.99.


FEATURED


SPECIAL OFFER


Crock-Pot 7 Quart Oval Manual Slow Cooker, Stainless Steel


Mr. Clean Magic Eraser Variety Pack


Ninja BL770AMZ Mega Kitchen System, 8-Cup Food Processor


Etekcity Food Kitchen Scale, Digital Grams and Ounces for Baking, Cooking


COSORI Air Fryer Pro LE 5-Qt Airfryer, Quick and Easy Meals


NutriChef Automatic Vacuum Air Sealing System Preservation

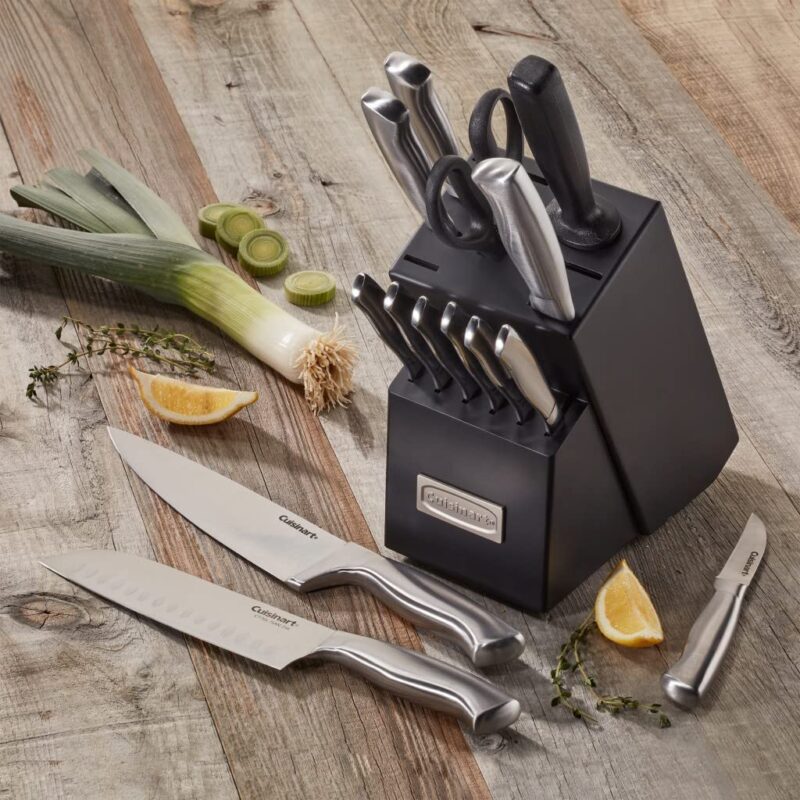
Cuisinart 15 Piece Kitchen Knife Set with Block

